Installing jvmguard
Installer
Section titled “Installer”Installers are available for all major platforms. By default, the installer shows a GUI, but if you start the installer
with the argument -c, it shows a console interface. This is required if you install jvmguard on a remote server
with ssh.
For cloud-based deployments you may want to install and configure the jvmguard server without any user interaction. See the help topic on unattended installations for how to do that.
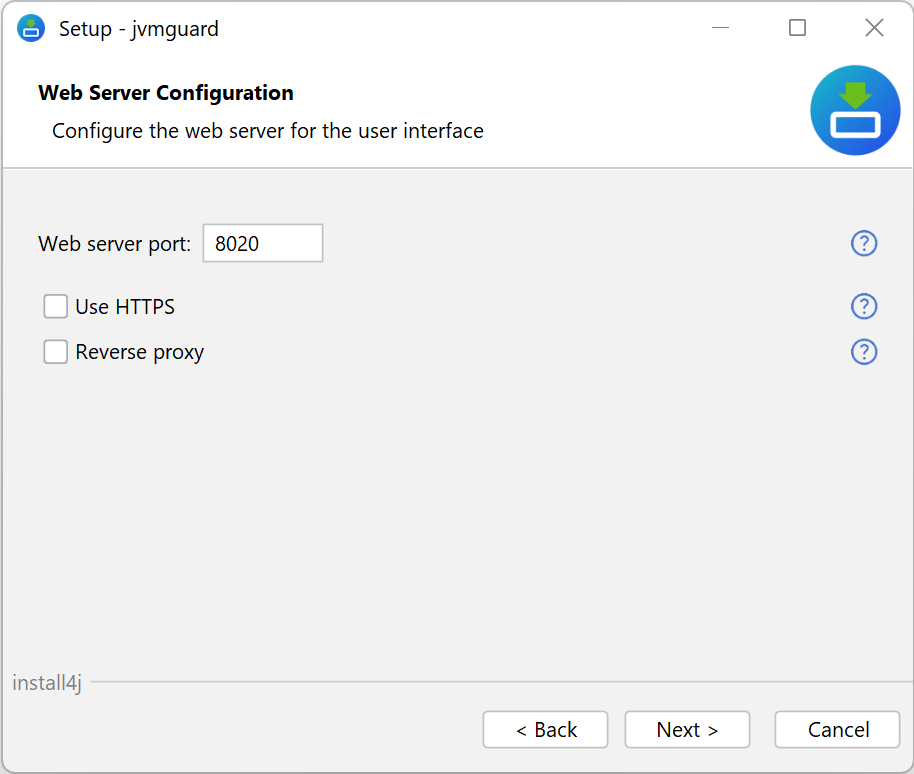
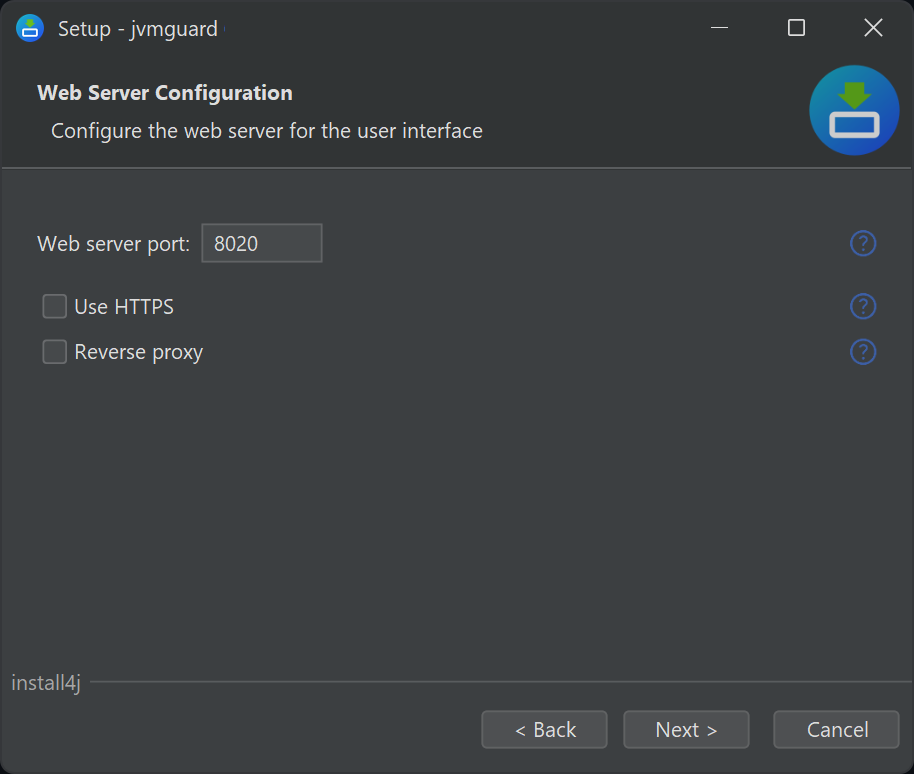
The installer asks you about all configuration options that are not configurable through the browser in the jvmguard UI. The most common setting that has to be adjusted is the HTTPS/HTTP port for the web server.
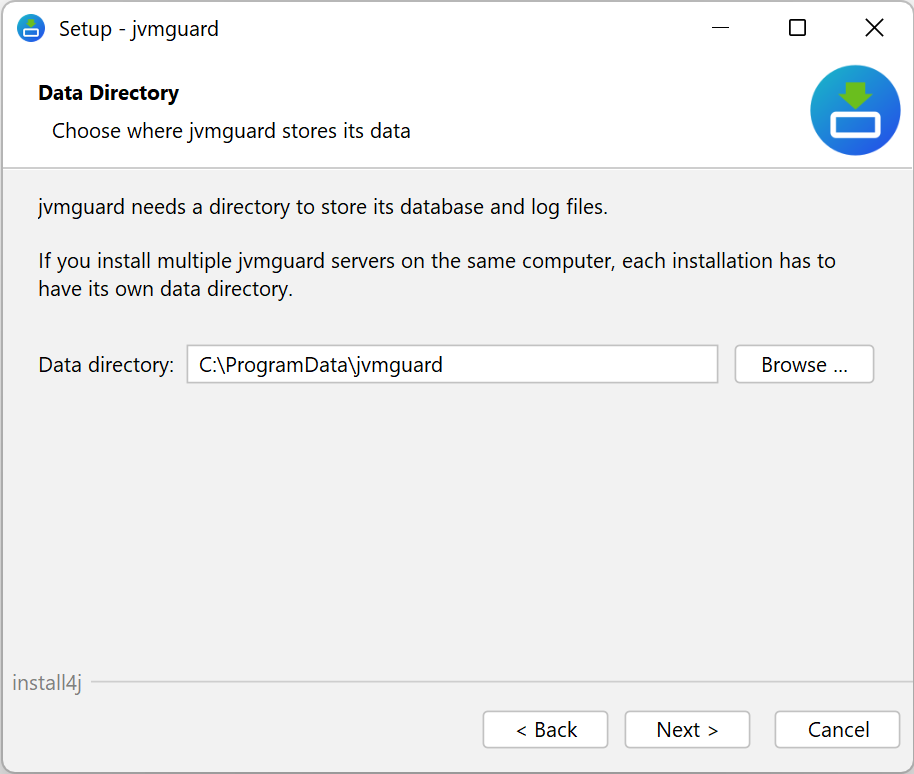
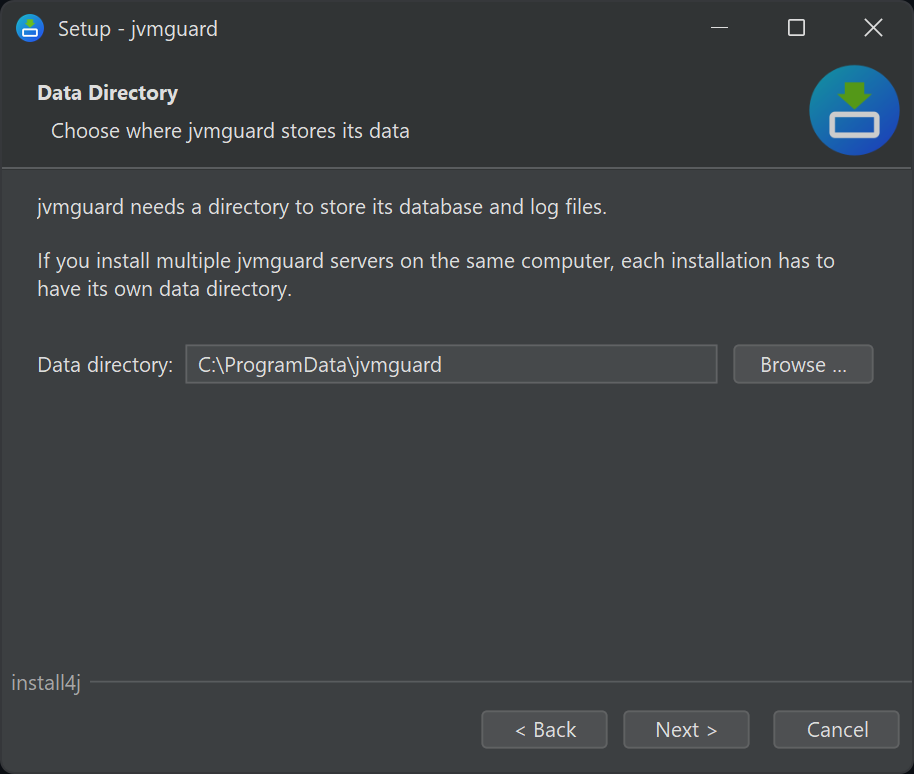
Beside the installation directory, a jvmguard installation needs a data directory where all variable data is stored.
This includes the database, log files and security certificates. By default, this directory is set to the program data
directory on Windows (typically C:\ProgramData) and /var/opt/jvmguard on Unix and macOS. In a scenario where you
install multiple instances of jvmguard on the same machine, each jvmguard installation has to have its own data directory.
For evaluation purposes, this is all the installer needs to know. If you are deploying to a production environment, you might want to adjust other options.
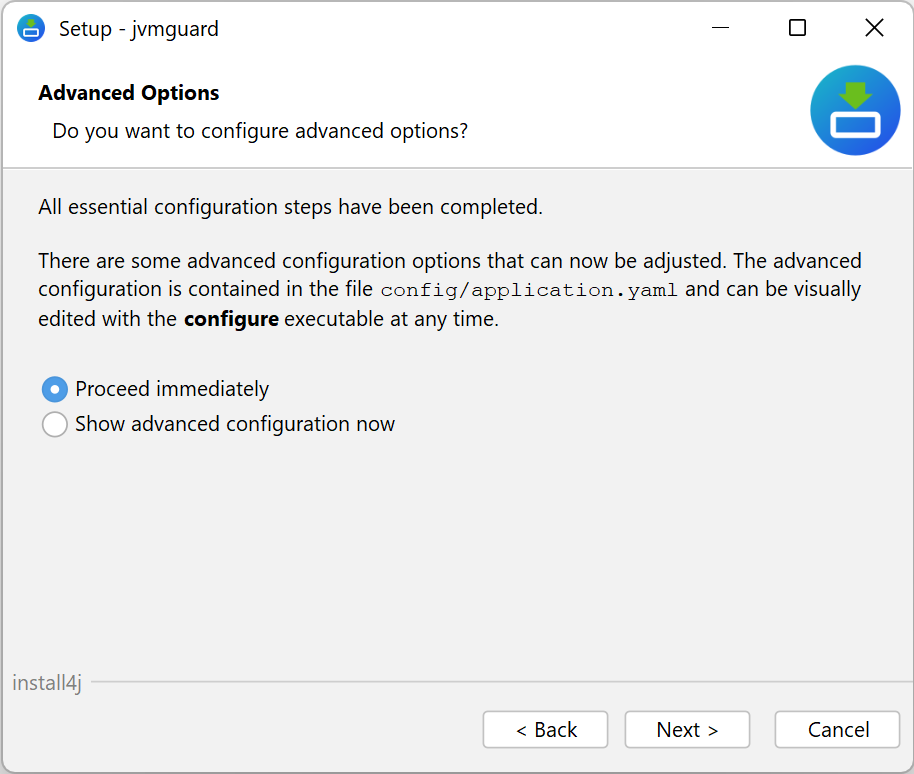
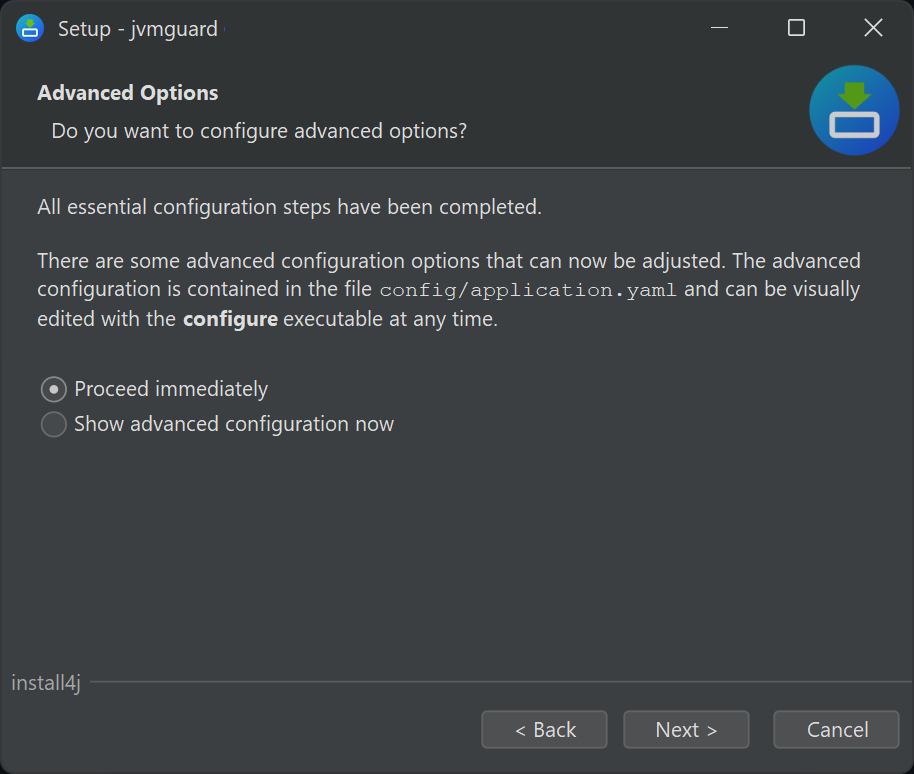
Changing the initial configuration later on
Section titled “Changing the initial configuration later on”The installer writes the configuration to the file config/application.yaml in the installation directory. To change the
configuration at a later time, edit that file with a text editor and restart the jvmguard server. The options are
documented with comments directly in config/application.yaml. For more information, see the help on server
configuration.
Post-installation setup
Section titled “Post-installation setup”After the installer has finished, the jvmguard server is running and you can open your browser at
http[s]://localhost:[port] to connect to the jvmguard UI. Note that if you have selected HTTPS for the web server,
there is no port that serves HTTP requests.
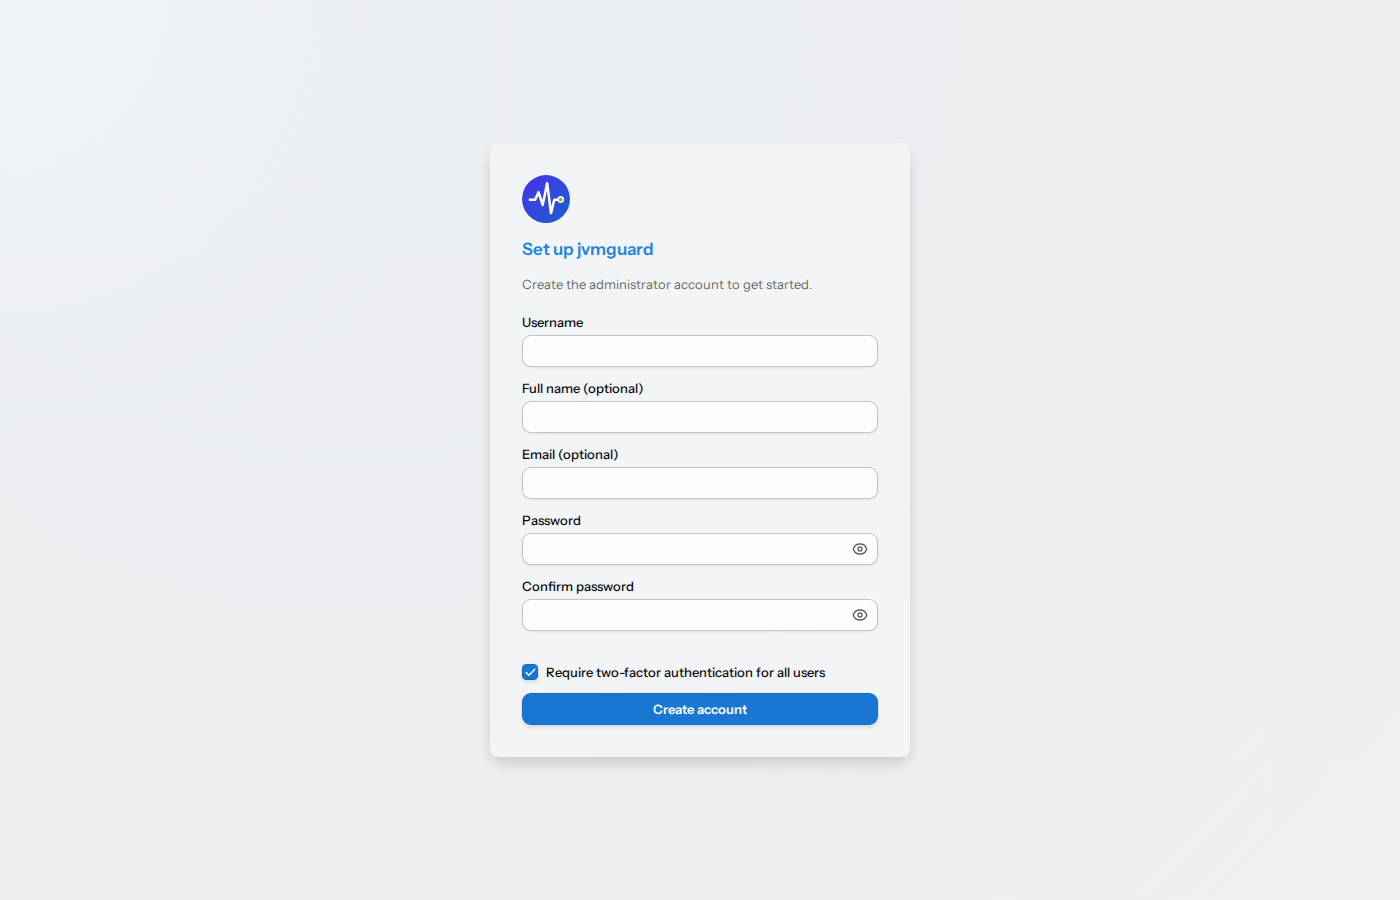
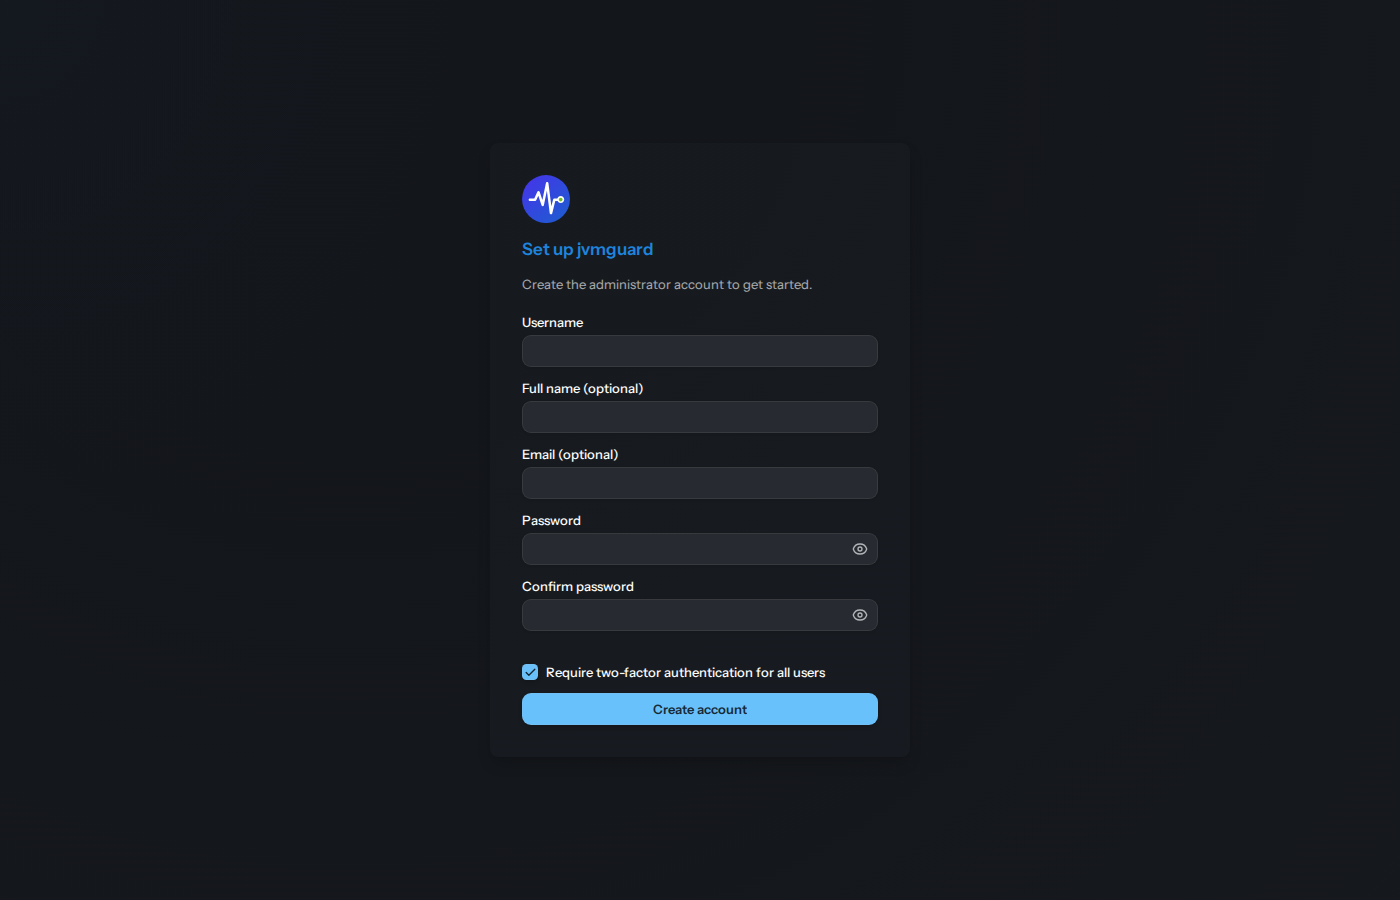
Before you can use jvmguard, you have to complete the setup step in the jvmguard UI where you configure the initial admin user. You can configure other admin and non-admin users later on.
By default 2FA is enabled, but you can disable it in this step. If 2FA is enabled, you will have to set up 2FA with your authenticator app when the wizard is completed. Single users can be exempted from 2FA later on in the user settings.
When you complete the setup step, the server is fully initialized and the installation wizard cannot be shown again. However, all settings in the installation wizard can also be adjusted in the jvmguard UI. You are now taken to the VMs view and can continue to set up monitored JVMs as explained in the next chapter.